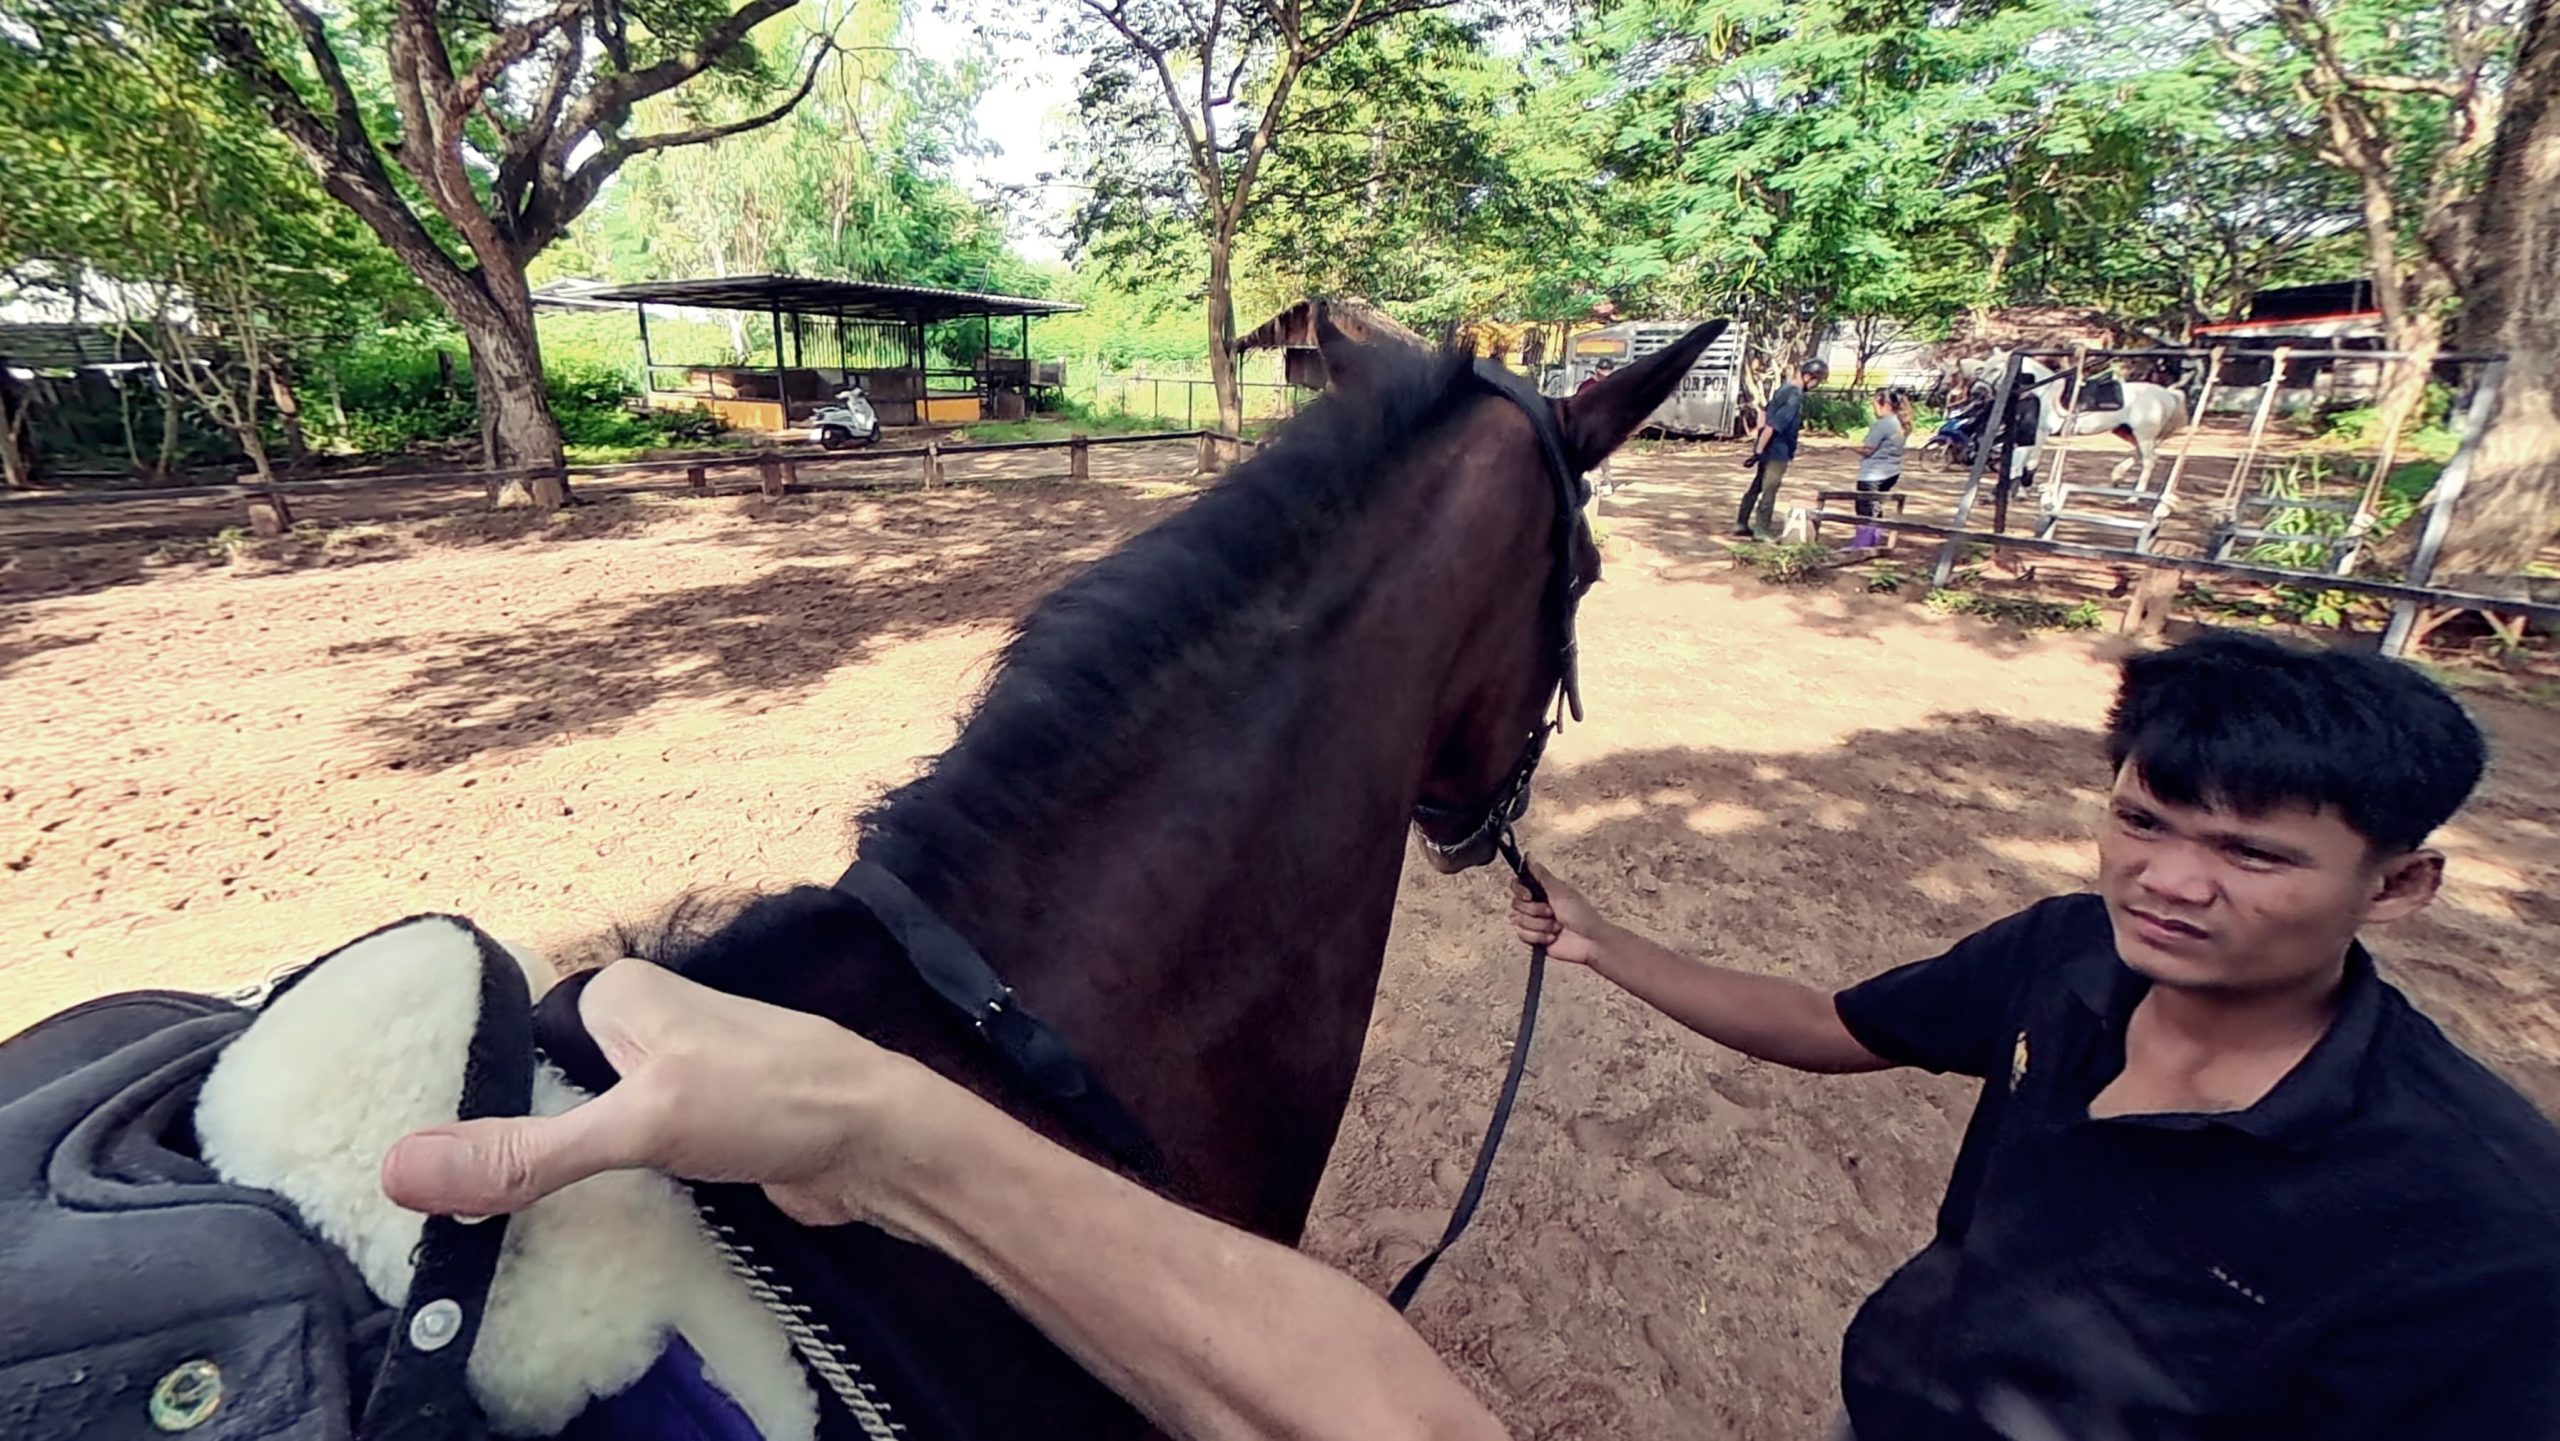
A thorough pre-mount check is not an audit of suspicion; it is collaborative horsemanship. When riding unfamiliar horses in demanding foreign terrain, even seasoned equestrians can get caught in the rush of arrival. Taking a few unhurried minutes to verify tack mechanics, physical comfort, and communication signals with the guide is the quiet difference between fighting your gear for three hours and a seamless journey across country.
The Partnership Begins on the Ground
In well-run barns across Asia, the guides and grooms possess an intimate, daily understanding of their herd that no visitor can match in ten minutes. They know which horse holds its breath during cinching, which mare gets defensive if passed on a narrow ridge, and how individual mounts respond to tropical humidity. Working through a pre-mount routine is not about policing the yard; it is about establishing a shared baseline with the local team and ensuring that small mechanical discrepancies are addressed calmly before hitting the trail.
1. The Ground Check-In
Spend a minute or two standing quietly at the horse’s shoulder before reaching for reins or stirrups. Beyond basic ear positions, tune into the micro-signals: the subtle tension around the muzzle, the tightness of the jaw, and the rhythm of the flank. A calm horse in a shaded stall blinks softly, shifts its weight naturally, and processes your presence with an exploratory sniff. If an animal stands rigidly braced, holds its breath, or shows persistent white around the eye without obvious external stimuli, it often signals anticipation stress or physical discomfort worth asking the guide about. That quiet pause allows its nervous system to register that you are an observant partner, setting a relaxed tone before a foot ever leaves the ground.
Observation Note: Watch the resting limbs. A hind leg resting on its toe indicates natural relaxation; a horse repeatedly pointing or taking weight off a front foot is potentially offloading pain in the shoulder, navicular zone, or tendon.
2. Back Sensitivity and Girth Line Palpation
With the saddle already in place, you can still run flat, warm fingers along the margins of the spine, beneath the edges of the panels, and into the girth groove behind the elbows. You are feeling for localized heat, edema, or sudden muscle spasms. In humid climates, friction galls and fungal skin tenderness can develop invisibly beneath tack. If the horse dips its back, swishes its tail irritably, or shifts away from light palpation near the cantle or girth line, discuss it openly with the guide. Ask casually: ‘How does he like to settle into his tack—is he a little sensitive around the girth, or pretty easygoing when mounting?’ A collaborative guide will readily share their horse’s warm-up preferences and let you know if they prefer an unhurried, loose-rein start.
Technical Focus: Check the girth groove behind the elbow for old scar tissue or raised ridges. Thick, hardened skin from previous friction burns will quickly blister under sweat and grit unless lubricated or cushioned.
3. Saddle Balance and Scapular Freedom
Step back two paces to evaluate the balance of the saddle tree against the horse’s conformation. Look along the topline: does the seat lie dead-level, or is the cantle tilting downward, concentrating pressure over the loins? Conversely, if the front sits propped up, the rider’s weight will be driven onto the rear panels, pinching the withers. Crucially, feel the front of the tree relative to the scapula. On many compact local crossbreeds and native ponies with short backs, saddles are frequently placed two inches too far forward, pinning the shoulder blade beneath rigid tree points. Slide your fingers beneath the front panel: the scapula must rotate backward freely without colliding with the saddle tree on every stride.
Field Check: Place your flat hand in the center of the seat. The lowest point should sit over the horse’s mid-back, well forward of the last rib — the point beyond which the tree must never extend onto the unsupported lumbar spine.
4. Spinal Channel Clearance (Front and Rear Gullet)
While daylight is rarely visible down the full length of a tacked English or touring saddle, you must verify clearance at both ends of the gullet channel. At the pommel, ensure a minimum of two to three fingers of vertical clearance above the withers, checking that the top of the wither is not touching the underside of the arch. At the rear, inspect where the panels terminate: the channel must remain generous enough to clear the spine and dorsal ligaments, with no direct contact against the vertebrae under load. Be alert to excessive stacking — if a yard has layered three thick blankets and a synthetic gel pad, it often signals an attempt to wedge a wide tree onto a narrow, high-withered horse, which traps excessive heat and causes rolling on uneven ground.
Technical Focus: Run your fingers under the rear panels. The pressure should feel even and gradual; if the panels lift off the back entirely (bridging) or dig in sharply at the back, weight distribution is severely compromised.
5. Pad Alignment and Channel Tenting
Inspect the saddle pad’s alignment along the spine. A correctly placed pad must be generously tented — pulled straight up into the gullet channel before the girth is tightened — so that air circulates along the backbone. If the pad has pulled taut across the withers, it acts like an abrasive band sawing back and forth across the spine with every stride. Ensure the pad extends symmetrically on both sides with no folded edges or bunched corners trapped under the tree. In tropical conditions, natural breathable materials like pure wool felt or high-grade cotton dissipate heat and sweat far more effectively than synthetic fleece or neoprene, which trap boiling heat against the muscles.
Field Check: Feel the binding along the front edge of the pad. Stiff synthetic piping or thick seams trapped directly under the front panel points will create acute pressure nodules on a long, sweaty descent.
6. Girth Tension and Bilateral Balance
Feel the girth personally rather than assuming it was checked. Slip your flat hand between the girth and the barrel behind the elbow: you should feel roughly two to three fingers of give, snug and supportive, not so loose that it can twist, and never cinched to the point of restricting ribcage expansion. Check that the girth is adjusted evenly on both sides. If one side is buckled on the bottom hole while the other is pulled to the top, the girth is pulling the saddle off-center and risking buckle galls against the pectoral muscles. A horse that tenses and holds through its belly during initial tacking is usually settling and releasing anticipation, not physically inflating its ribcage — so expect the girth to take up slack once the horse relaxes and walks twenty yards.
Technical Focus: Note the girth material. In extreme humidity, soft leather or waffle-weave breathable synthetic girths wipe clean and prevent fungal rubs, whereas crusty, unwashed cotton webbing acts like coarse sandpaper against sweaty skin.
7. Bridle Alignment, Bit Fit, and Mechanical Freedom
Rather than questioning an operator’s choice of bit, focus on its alignment and mechanical function. Look for symmetry: the bit must rest evenly across the bars of the mouth without pulling to one side, showing one or two soft, relaxed wrinkles at the lips. Gently slide the bit horizontally to confirm it has comfortable lateral play and isn’t pinching the tongue or cheek flesh. Verify the noseband: you should easily fit two stacked fingers beneath the cavesson to allow natural chewing and swallowing. Check that the throatlatch hangs loose enough to slip four fingers underneath, ensuring it won’t constrict the trachea on steep climbs. Finally, trace the reins all the way from the bit rings to your hands to confirm they are untwisted and haven’t been routed underneath the throatlatch, martingale, or breastplate straps.
Field Check: Check the bit material. A clean, smooth stainless steel or sweet-iron bit is standard; look out for sharp burrs, rough weld edges, or flaking chrome on older gear that could lacerate the tongue or palate.
8. The Local Knowledge Dialogue
Engage the lead guide or groom with targeted, respectful questions that tap into their deep knowledge of the animal. Ask: ‘How does he prefer his contact — does he prefer a light, giving hand on the buckle, or does he like consistent support?’ Inquire about herd hierarchy: ‘Is he happiest leading the string, or does he get anxious if he isn’t following another horse’s tail?’ Finally, ask about specific trail reactions: ‘Is he completely steady with river crossings and cattle, or does he tend to look at motorbikes and bamboo movement?’ This isn’t an interrogation; it is collaborative planning that shows the guide you understand herd dynamics and want to work with the horse’s nature.
Technical Focus: Ask about the homeward leg: ‘Does he tend to get forward or march quickly when we head back toward the stable?’ Anticipating a horse’s barn-bound energy allows you to ride proactively from your seat rather than getting caught in a pulling contest.
9. Stirrup Measurement and Leather Integrity
Never ride with stirrup leathers left at an arbitrary length. While the traditional arm-length check gives a rough approximation, experienced riders know it often falls two inches short of an authentic trail length. In rugged mountain terrain, you need an angle that supports an independent, shock-absorbing seat: long enough to drape your leg naturally around the barrel, yet short enough to allow a clean two-point balance on steep climbs without locking your knees. Inspect the leathers themselves: check the stitching around the buckles and ensure the leather isn’t cracked or stretched dry. If the leathers run out of holes and leave you cramped, simply ask the groom for a longer set rather than trying to improvise or suffering agonizing joint torque.
Field Check: Check iron width and tread. Place your boot in the stirrup: you need a half-inch of clearance on either side of the widest part of your foot. Trail irons that are too narrow risk trapping your boot if a horse stumbles on a river bank; conversely, on dense bamboo trails, verify that stirrups with safety cages or wide endurance treads are free of debris so your foot releases instantly.
10. The Dynamic Walk-Away and Reseat
Mount smoothly from a block, stone, or bank — protecting the horse’s sacroiliac joints and keeping the tree balanced. Settle into the center of the seat and ask the horse to stand calmly for five seconds before asking for forward movement. Walk the horse thirty to forty yards in an enclosed lane or open yard. Use this rolling walk to feel what cannot be judged while standing: Does the saddle rock laterally or shift to one side? Does the horse move forward through its shoulder and reach cleanly under itself with the hind legs, or does it feel short-strided and reluctant? Halt smoothly, drop your hand, and recheck the girth. Almost invariably, as the horse exhaled and dropped its back into motion, the girth will take up another hole cleanly.
Field Check: If the saddle feels crooked or rolls slightly during these initial strides, dismount and reset it immediately on level ground. Adjusting a slipping saddle in the yard takes thirty seconds; trying to straighten it on a narrow, muddy switchback is an avoidable risk.
A Culture of Collaboration
A confident equestrian approaches a pre-mount check with quiet warmth and curiosity, never suspicion. Saying to a guide, ‘He feels slightly tight through his right shoulder – do you think the tree might be sitting a fraction forward?’ or ‘Could we take the girth up on the off-side to keep the buckles balanced?’ invites an experienced horseman into a shared solution. If a concern is brushed aside rather than addressed, it’s entirely reasonable to raise it again or ask for a different horse – a good outfitter will not take this personally, and will respect a rider who knows what they are checking for.
Top-tier outfitters across Asia take immense pride in their herds and welcome dialogue with guests who understand the craft. Taking those few unhurried minutes before mounting shows respect for the local team, honors the physical well-being of the horse, and builds the mutual trust required for an unforgettable journey.